Last updated November 21, 2026
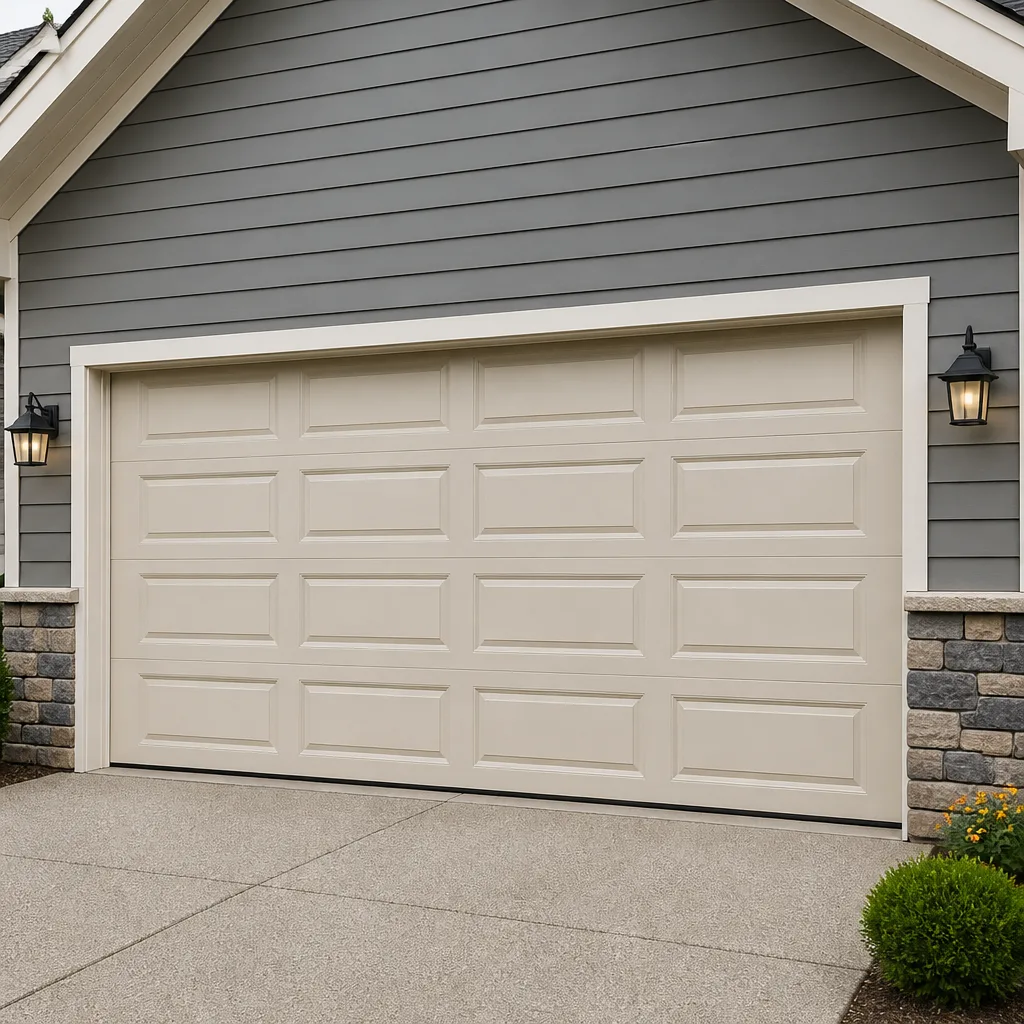 Raised-panel steel
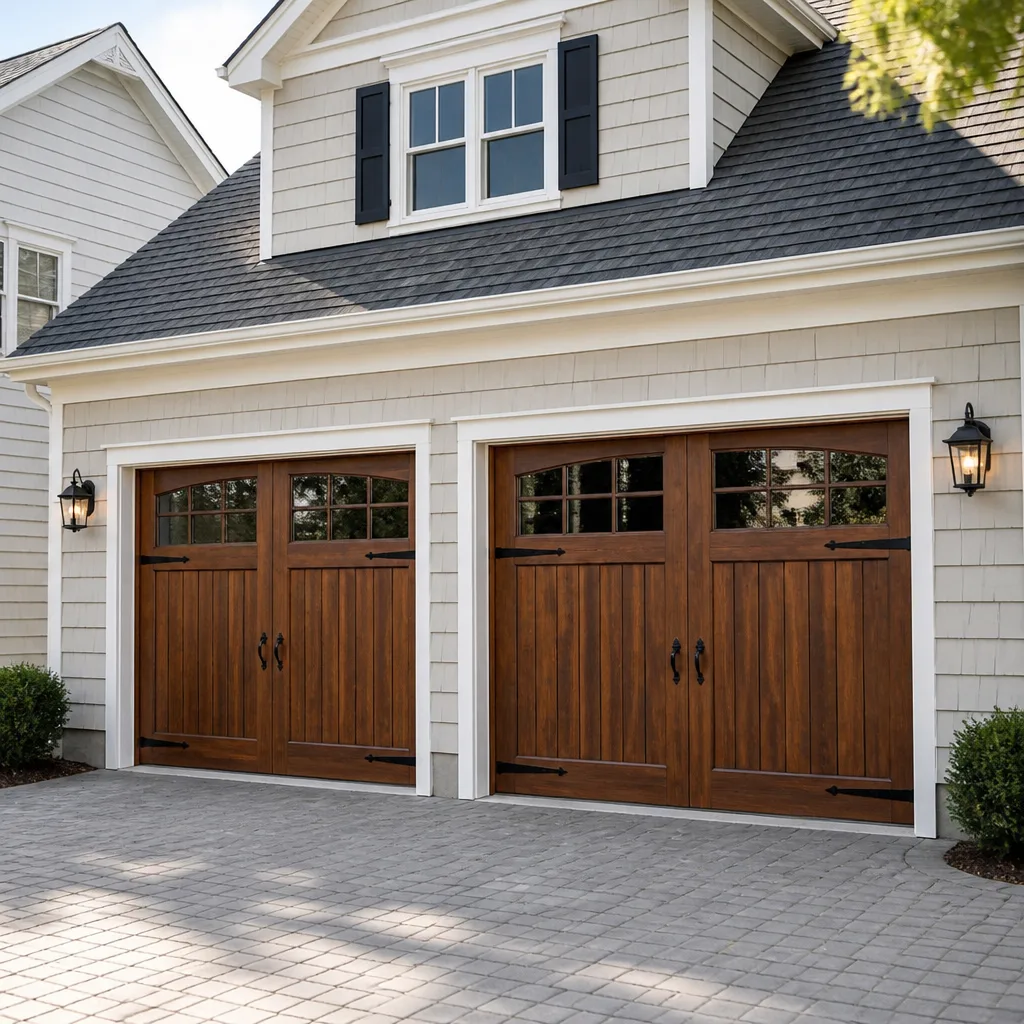 Carriage house
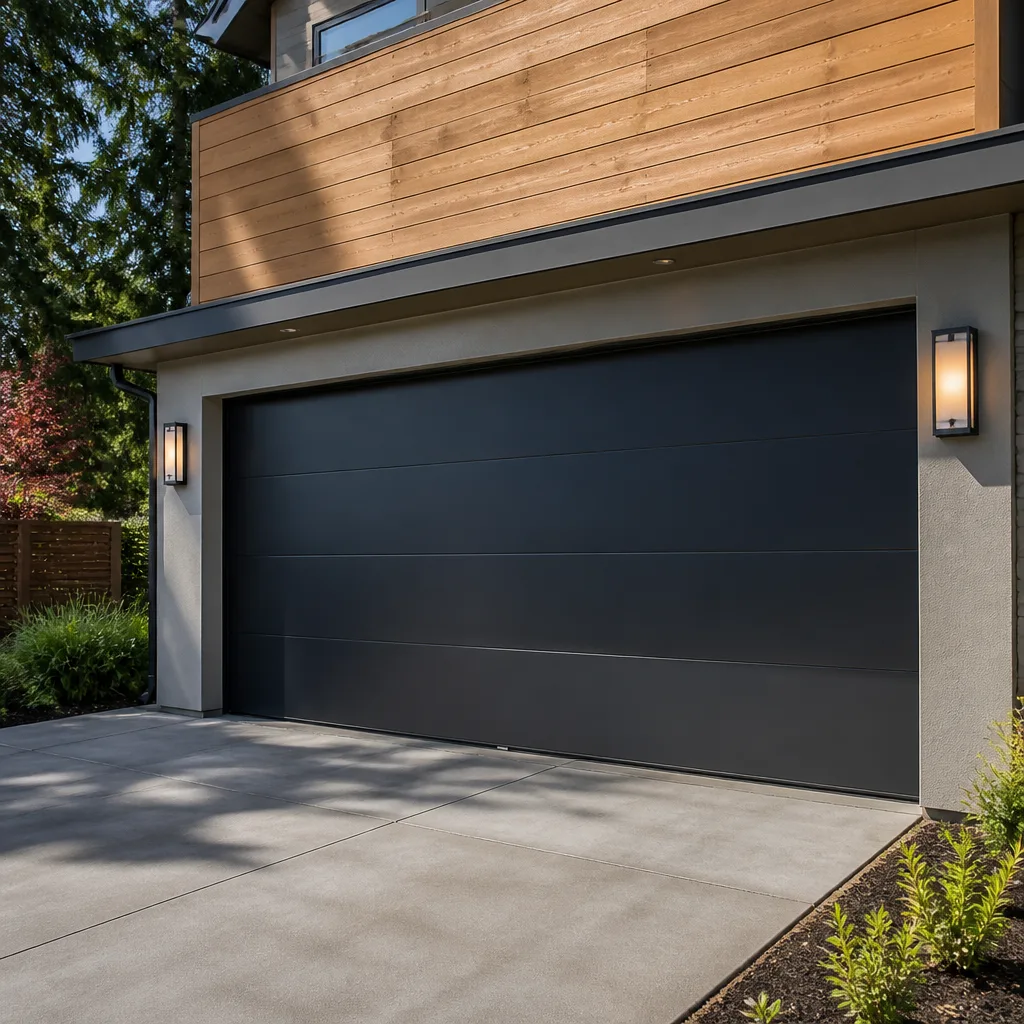 Modern flush
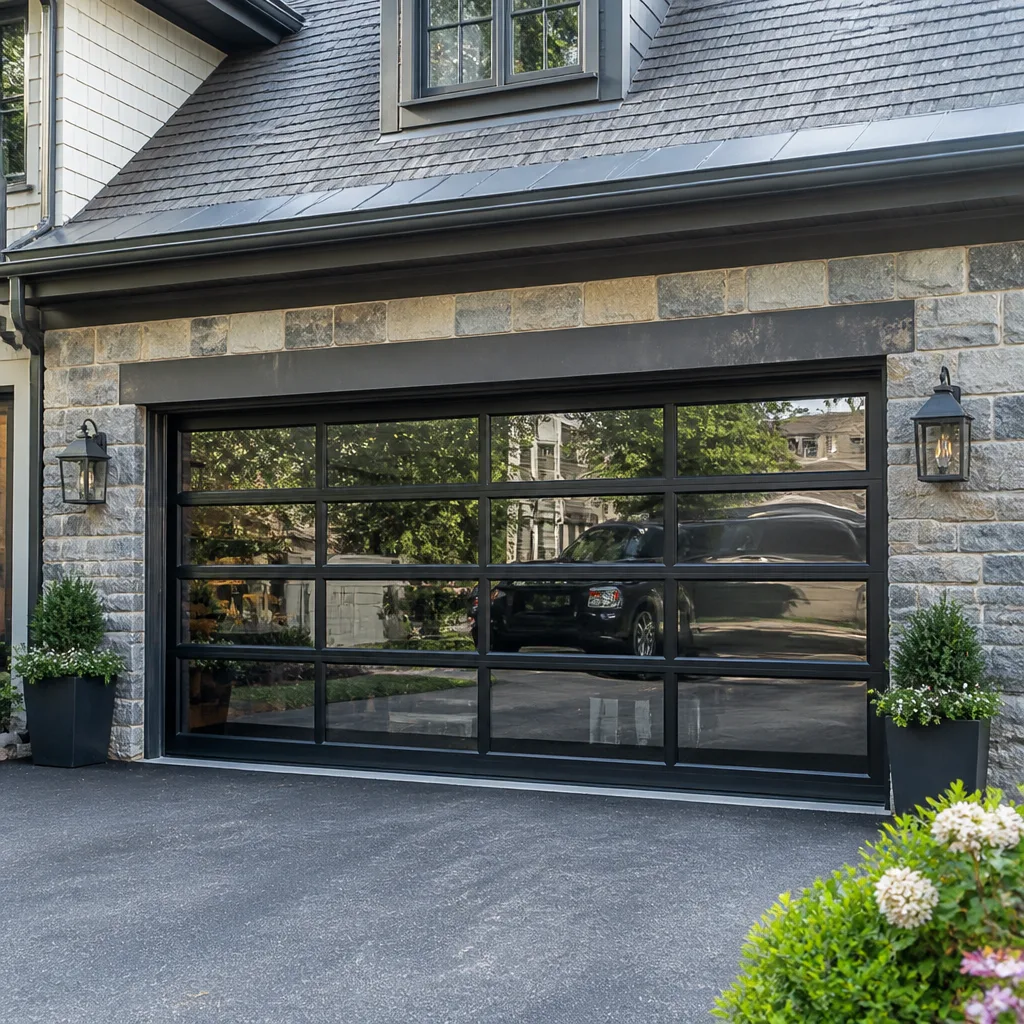 Full-view glass
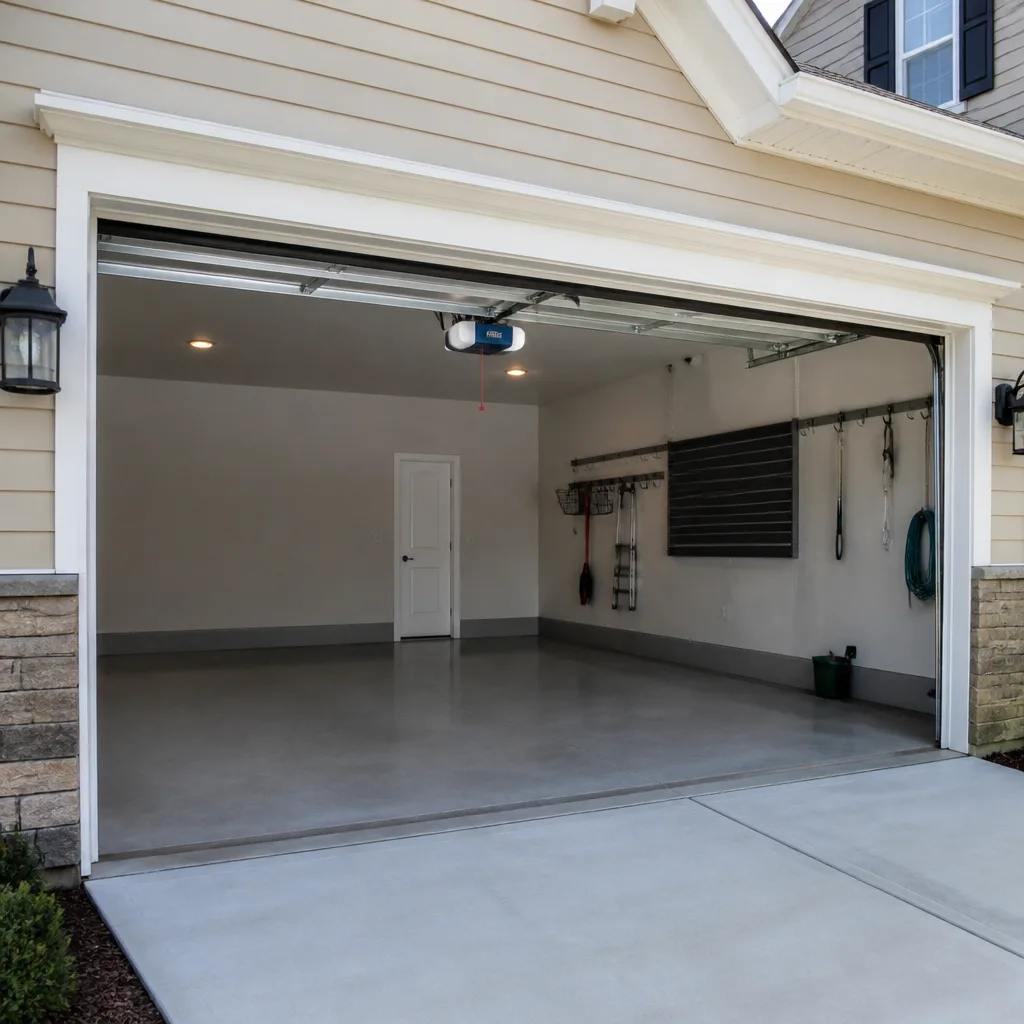 LiftMaster openers
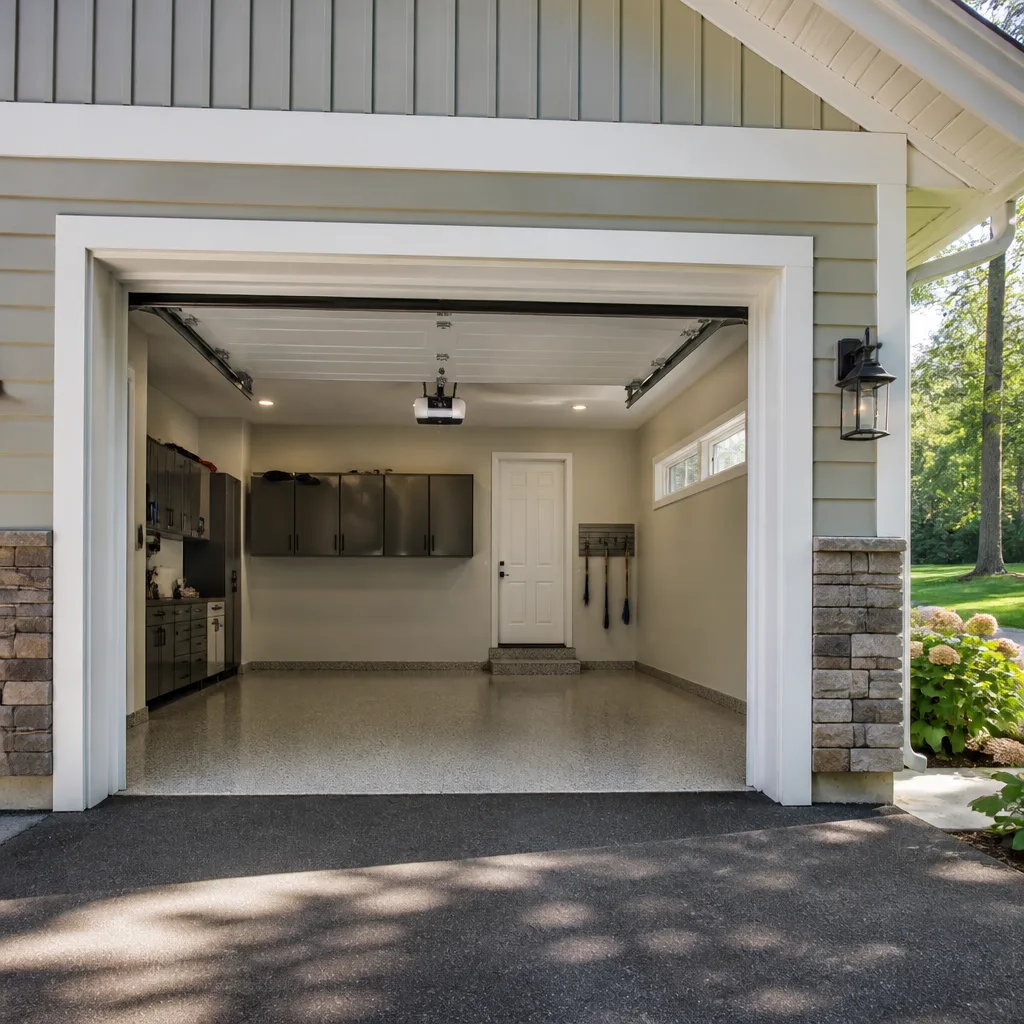 Chamberlain openers
Full 25-point door and opener safety check with every visit - springs, cables, rollers, tracks, and your LiftMaster or Chamberlain opener included
You get a price before we start. It does not change when the pro arrives.
Get your free estimateGarage Door Repair Maintenance Checklist for Dayton Homeowners
Most maintenance checklists tell you to lubricate the hinges and call a professional when something looks off. That advice leaves out the part that actually matters: knowing where the line sits between a task you can handle and one that can hurt you. A worn roller costs little to replace on a mild October afternoon. The same roller, ignored through a Miami Valley freeze-thaw cycle, can jump its track and pull a cable loose with it. This guide gives Dayton homeowners a task-by-task checklist organized by skill level, with pass/fail criteria for every inspection point so you know exactly when a job crosses from DIY into professional territory.
Quick Answer
A garage door maintenance checklist for Dayton should cover four seasonal passes: a pre-winter tune-up in fall, a mid-winter visual check, a post-thaw inspection in early spring, and a light summer review. Most inspection points are safe for any homeowner. Spring and cable work, track realignment after impact, and opener force-limit adjustments belong to a trained technician. Our technicians have up to 10 years of experience, and we work on LiftMaster, Chamberlain, Genie, Clopay, Amarr, Wayne Dalton, Craftsman, and Raynor systems.
Styles & brands we work with
- Raised-panel steel
- Carriage house
- Modern flush
- Full-view glass
- LiftMaster openers
- Chamberlain openers
Table of Contents
- The Three-Tier Checklist: What’s Safe, What Needs Tools, What Needs a Pro
- Pass/Fail Criteria for Every Component
- Lubrication: The Right Products and the Ones That Damage Clopay and Amarr Seals
- Testing Balance, Travel Limits, and Auto-Reverse Under UL 325
- A Seasonal Schedule Built for Dayton Weather
- Reading the Noises: What Each Sound in a Dayton Garage Usually Means
- Opener-Side Maintenance Most Checklists Skip
- Pre-Winter Prep and Post-Thaw Inspection: The Two Passes That Matter Most
The Three-Tier Checklist: What’s Safe, What Needs Tools, What Needs a Pro
Not every maintenance task carries the same risk. Sorting them by tier keeps you from either skipping the easy work or taking on a job that can break a wrist. Here’s how we separate them when talking with homeowners across Dayton, from the older garages near the Oregon District to the newer subdivisions out toward Huber Heights.
Tier 1: Safe for Any Homeowner
- Visual inspection of springs, cables, rollers, and hinges from the ground. No touching, just looking.
- Wiping down door panels with a mild cleaner.
- Listening for unusual sounds during a full open and close cycle.
- Checking that the photo-eye sensors aren’t blocked by cobwebs, leaves, or a recycling bin pushed into the beam path.
- Testing the wall button and each remote to confirm they respond.
Tier 2: Basic Tools and Mechanical Comfort
- Lubricating hinges, rollers, and the torsion bar with a product suited to your door’s seal type.
- Tightening hinge and bracket bolts that have worked loose (never the torsion spring hardware).
- Testing the door’s balance by hand with the opener disconnected.
- Running the auto-reverse test with a piece of wood or a roll of paper towels.
- Cleaning and aligning photo-eye sensors.
- Replacing the opener’s battery in the remote and the wall console.
Tier 3: Professional Technician Only
- Any work involving torsion or extension springs. These are under extreme tension and can cause serious injury if released incorrectly.
- Cable replacement or adjustment.
- Track realignment beyond a minor nudge, especially after a vehicle impact.
- Opener force-limit or travel-limit adjustment when the door won’t fully close or reverses without an obstruction.
- Replacing a broken spring, cable drum, or center bearing plate.
If a task sits in Tier 3, don’t test your luck. Call (877) 704-1590 and we’ll get a technician out to look at it.
Pass/Fail Criteria for Every Component
Here’s where most checklists stop short. They tell you to check your springs but never tell you what “bad” looks like. These pass/fail benchmarks come from what we see in the field every week across Dayton, whether a door is running on a Wayne Dalton extension spring setup or a modern torsion system.
Springs
Pass: The spring looks straight and uniform, with no visible gaps. The door lifts with a steady, even feel and stays open a few feet off the ground when you test it by hand.
Fail: A visible gap of an inch or more in the coil means the spring has broken. A door that feels heavy on the way up or slams down hard on the way down is a spring losing tension. Stop using the door and call a technician. Torsion and extension springs are dangerous to handle without training and the right winding bars.
Cycle count estimation: Standard springs are usually rated for around 10,000 cycles, and a cycle is one open-and-close. Count your daily cycles and divide the rated number by that figure to get a rough lifespan estimate in days. A household running the door four times a day is looking at roughly seven years of spring life under average use.
Cables
Pass: Cables are taut, sit cleanly in their drums, and show no broken strands.
Fail: Any visible fraying, a birdcage shape near the drum, or a cable that has jumped its groove. Even one broken strand can whip loose under tension, so don’t wait on a cable that’s already showing wear. This is a professional job.
Rollers
Pass: Rollers spin freely by hand and show no flat spots. Nylon rollers should look smooth and round. Steel rollers should have a clean edge with no metal shavings visible in the track.
Fail: Flat spots, wobble in the stem, or visible grooves worn into the roller. A worn steel roller will eventually grind a groove into the track, which turns a small part replacement into a track job.
Hinges and Brackets
Pass: Bolts are snug, hinges pivot without binding, and the bracket doesn’t rock when you push on it.
Fail: A hinge that bends instead of pivoting, a bracket with play, or any sign of rust jacking the hinge away from the panel. On older Dayton garages, hinge rust is common thanks to decades of humid summers and road salt tracked in on the car.
Weather Seal and Bottom Rubber
Pass: The bottom seal compresses evenly against the floor and blocks daylight. Side seals lie flat against the door panels.
Fail: Daylight visible under a closed door, cracks in the rubber, or a seal that has hardened enough to crack when you flex it. A failed bottom seal lets in cold air, mice, and rain splash.
Tracks
Pass: Tracks are straight and parallel, with even spacing on both sides.
Fail: A visible bend (usually from a bumper nudge), a gap where the vertical and horizontal tracks should meet, or a track that’s pulling away from the wall. Minor bends may be adjustable; anything more is a professional repair.
Any “fail” that lands in Tier 3 needs a technician, not a YouTube tutorial. Garage door repair in Dayton is what we do every day, and we’re happy to look at any component on this list.
Lubrication: The Right Products and the Ones That Damage Clopay and Amarr Seals
Lubrication is where well-meaning homeowners cause the most damage. The wrong product on the wrong seal can shorten a door’s life by years, and it’s one of the most common calls we get from Clopay and Amarr owners in Dayton.
What to Use
- White lithium grease on hinges, rollers, and the torsion bar. It stays put and doesn’t attract as much grit.
- Silicone spray on the bottom rubber seal and side seals. It keeps the rubber flexible through a cold snap without degrading it.
- Dry PTFE spray on rollers when the door is in a dusty garage, since it won’t gum up with dust the way grease does.
What Not to Use
- WD-40 (standard formula) on rubber seals. The solvent base breaks down the EPDM rubber used on most Clopay and Amarr bottom seals, causing the seal to crack and shrink within a season.
- Motor oil or engine grease on any moving part. It attracts dust, hardens in cold weather, and leaves a black residue that stains driveways and garage floors.
- Any spray lube with a petroleum base on nylon rollers. Some products attack the nylon and cause premature cracking.
How Often
Two full lubrication passes a year usually do the trick in Dayton: one in late fall before the cold sets in, and one in spring after the freeze-thaw cycle ends. If your garage is attached and heated, you can stretch it to once a year with a mid-winter touch-up on the hinges. Avoid spraying the track itself. The track is meant to run dry.
If you’re unsure what’s appropriate for your brand, call and ask. We work on LiftMaster, Chamberlain, Genie, Clopay, Amarr, Wayne Dalton, Craftsman, and Raynor, and we can tell you what belongs on your specific door without you having to guess.
Testing Balance, Travel Limits, and Auto-Reverse Under UL 325
A door that opens and closes isn’t necessarily a safe door. UL 325 is the safety standard that governs garage door openers and defines how the auto-reverse and entrapment protection systems should work. Here’s how to test the three things that standard addresses, using what you already have in the garage.
Step 1: Test the Door’s Balance
- Raise the door by hand to about waist height.
- Disconnect the opener by pulling the emergency release handle.
- Let go of the door. It should stay roughly where you left it with minimal drift.
- Lower it slowly to about knee height and release again. Same result.
Pass: The door holds position within a few inches either direction. Fail: The door drops fast or rises on its own. That means the springs are out of balance, and this is a technician job. Don’t run the opener with an unbalanced door.
Step 2: Test the Photo-Eye Safety Sensors
- Close the door using the wall button.
- While it’s closing, wave a broomstick through the beam path near the floor.
- The door should reverse immediately and return to the open position.
Pass: The door reverses smoothly. Fail: The door keeps descending or reverses only after hitting the object. If either sensor light is off, check for blockage and clean the lens. Persistent failures mean a wiring or sensor replacement.
Step 3: Test the Auto-Reverse Force
- Open the door fully.
- Place a roll of paper towels or a 2×4 flat on the ground in the door’s path.
- Close the door using the wall button.
- When the door contacts the object, it should reverse within about two inches of travel.
Pass: The door reverses on contact. Fail: The door continues to press down. Force limit adjustment is not a homeowner fix; it’s a professional adjustment so the door doesn’t push with more force than the standard specifies. Call us and we’ll dial it in properly.
A Seasonal Schedule Built for Dayton Weather
Dayton sits in a climate of cold winters, humid summers, and a spring thaw that runs water across driveways and under garage doors. That cycle drives what each seasonal pass should focus on.
Fall (October-November): Pre-Winter Prep
- Full lubrication pass on hinges, rollers, and the torsion bar.
- Inspect the bottom seal for cracks before cold weather stiffens the rubber.
- Test the door’s balance. Cold makes a weak spring weaker.
- Clear leaves and debris from the track and photo-eye path.
- Confirm the opener reverses correctly; snow and ice on the ground can trip a misadjusted sensor.
Winter (December-February): Mid-Winter Check
- Visual inspection after any deep freeze cycle. Hairline spring cracks can appear when a tired spring contracts in the cold.
- Listen for new grinding or popping sounds on the morning cycle.
- Test the auto-reverse monthly. Frost under the bottom seal counts as an obstruction.
- Keep the door path clear of salt, sand, and driveway grit that can foul the tracks.
Spring (March-April): Post-Thaw Inspection
- Check hinges and brackets for rust or loosened bolts. The freeze-thaw cycle backs hardware out over a season.
- Inspect the bottom seal for tearing after a winter of hard contact with ice and grit.
- Look for daylight under the closed door; a seal that failed over winter lets in spring rain.
- Re-lubricate everything, especially if you skipped a mid-winter touch-up.
Summer (May-September): Light Review
- Clean and re-lubricate the moving parts once, especially on heavily used doors.
- Wash the door panels with a mild cleaner to prevent oxidation, common on painted steel in humid summers.
- Check opener remotes and wall consoles for dead batteries.
If you want a pro to run the full seasonal pass in one visit, that’s exactly what we do. Garage door opener repair and full-system maintenance are both on our service list.
Reading the Noises: What Each Sound in a Dayton Garage Usually Means
Your door talks to you. The sound it makes on the way up and the way down tells you what’s wearing, what’s loose, and what’s about to fail. Sorting the noises before you call saves diagnostic time and, in our experience, keeps small problems from becoming emergency ones.
Grinding or Scraping
Usually rollers dragging in the track, a warped track section, or a hinge binding. If the sound is coming from the center of the door, it may be a worn center bearing plate. Grinding from the opener head itself usually means a gear failure inside the motor unit.
Popping or Snapping
One loud pop during a cycle often points to a torsion spring losing tension or a cable jumping its drum. Repeated snaps at the same point in the cycle usually mean a hinge is over-stressed. This is a Tier 3 issue and needs a technician.
Squeaking or Squealing
The easiest sound to fix. Squeaking is almost always dry hinges or dry rollers. Lubricate and recheck. If the squeal keeps coming back within a few weeks, a bearing is likely worn and needs replacement.
Rattling
Loose hinge bolts, a loose bottom bracket, or a door panel vibrating against its hinge. Walk the door slowly by hand and listen for the source. If the rattle is coming from the opener rail, the rail hanger bolts need tightening, or the rail itself may need adjustment.
Banging or Thudding
Usually a balance problem. The door is dropping rather than easing down. Test balance with the steps above, and if it fails, call before running the door again.
If any sound concerns you, call (877) 704-1590. We can tell a lot about a door’s health by what it sounds like, and we’re happy to take a look.
Opener-Side Maintenance Most Checklists Skip
Every checklists out there focuses on the door. In our experience, about half of “the door isn’t working” calls turn out to be an opener problem, and a five-minute monthly check on the opener side prevents most of them. That’s why our garage door opener repair calls often start with the door working fine.
Monthly Opener Checks
- Test each remote and the wall button. Any that require several presses or work only at close range are on their way out.
- Check the battery in the remote; replace once a year even if it seems fine.
- Listen for a grinding sound from the opener head. Gear wear in LiftMaster and Chamberlain units is common and repairable without replacing the whole unit.
- Confirm the light on the opener comes on when the door cycles. If it doesn’t, the bulb or the board inside may need attention.
- Look at the opener rail where it attaches above the door. Hanger bolts should be snug, not stripped.
Once-a-Year Opener Checks
- Check the opener’s force and travel limits by running the door with no obstruction. It should fully close and fully open without adjusting the limits.
- Inspect the manual release cord and handle. It should pull smoothly and re-engage without forcing.
- For belt-driven openers, listen for wear in the belt; a worn belt will chirp or hesitate at the start of the cycle.
- For screw-driven openers, check for grease smearing on the rail (a sign of over-greasing).
We service LiftMaster, Chamberlain, Genie, Craftsman, and Raynor openers. If your brand is on that list, we likely know the exact model-family quirks and common failure points before we arrive.
Pre-Winter Prep and Post-Thaw Inspection: The Two Passes That Matter Most
When we look at how a door fails in Dayton, the two seasonal passes that matter most by far are the pre-winter prep in late October or early November and the post-thaw inspection in March. Everything else is a maintenance nudge. These two are the passes that catch a failing spring before cold weather locks it in place and that spot a hinge that’s backed out over a freeze-thaw cycle.
The Pre-Winter Pass (Late October or Early November)
Cold weather is where tired parts give out. A spring with a hairline crack in October can snap the first time the temperature drops into the teens. The pre-winter pass should:
- Lubricate every hinge, roller, and the torsion bar with white lithium grease.
- Treat the bottom seal with silicone spray so it stays flexible through the freeze.
- Test the door’s balance by hand. If it drops or rises, book a spring check now, not in January.
- Test the auto-reverse by placing a 2×4 flat under the closing door.
- Tighten any loose hinge or bracket bolts (but not the spring hardware).
- Clean the track and check for any bend at the transition between the vertical and horizontal curves.
- Confirm the opener reverses easily and the wall button functions.
The Post-Thaw Pass (March)
A Dayton winter puts the door through dozens of freeze-thaw cycles. The metal expands and contracts, bolts back out, and rust creeps into hinge plates. The post-thaw inspection should:
- Walk the perimeter of the door and look for daylight under the closed seal. That’s a bottom seal replacement signal.
- Inspect each hinge for rust and loose bolts. Rusty hinges can bind, which puts strain on the opener.
- Look at the spring coils for new hairlines cracks or gaps that weren’t there in the fall.
- Check the track alignment where the winter ice might have shifted the floor frame.
- Run a full balance test and an auto-reverse test.
- Re-lubricate the full system.
- Wipe any rust spots off exposed hardware and spot-treat with a light protective spray.
Between these two passes, most garage doors in Dayton will hold up years past the average homeowner’s expectations. Miss them, and the small repairs stack up.
If you’ve been meaning to schedule a full pro pass, we’re your specialist. We handle both the door and the opener in one visit, so you don’t have to call two companies for one tired system. Garage door installation is also available if your post-thaw inspection reveals a door that’s reached the end of its useful life.
Common Mistakes to Avoid
- Greasing the tracks. It feels like a good idea. It isn’t. Grease attracts grit and turns the track into a grinding surface that wears flat spots into the rollers. Keep the track clean and dry. If the door still drags, the issue is in the rollers or hinges, not lubrication.
- Using WD-40 on rubber seals. The solvent base degrades EPDM rubber and causes seals to crack within a season. Use silicone spray on the seals and keep the WD-40 for rusty bolts.
- Adjusting the force limits on the opener without a gauge. Force-setting by feel is how doors end up closing on a bicycle or a child’s toy without reversing. Force adjustment belongs to a technician who can read it against the manufacturer’s spec.
- Painting over a failing seal. Painting the bottom seal or side seals doesn’t stop a leak. It just hides the problem until water damage shows in the garage floor and interior wall.
- Ignoring a door that “works fine” after a hit. A vehicle impact that didn’t stop the door from opening can still have bent the track or popped a cable drum loose. Look for a track that’s off parallel; the door often fails a week or two later.
- Skipping the post-thaw inspection. A Dayton winter tests the door more aggressively than any other season. Ten minutes in March prevents most mid-year failures.
- DIY spring replacement. This is the worst mistake on the list. Torsion springs are under hundreds of pounds of tension, and a loosening mistake can cause serious injury. Leave spring work to a specialist.
See the difference
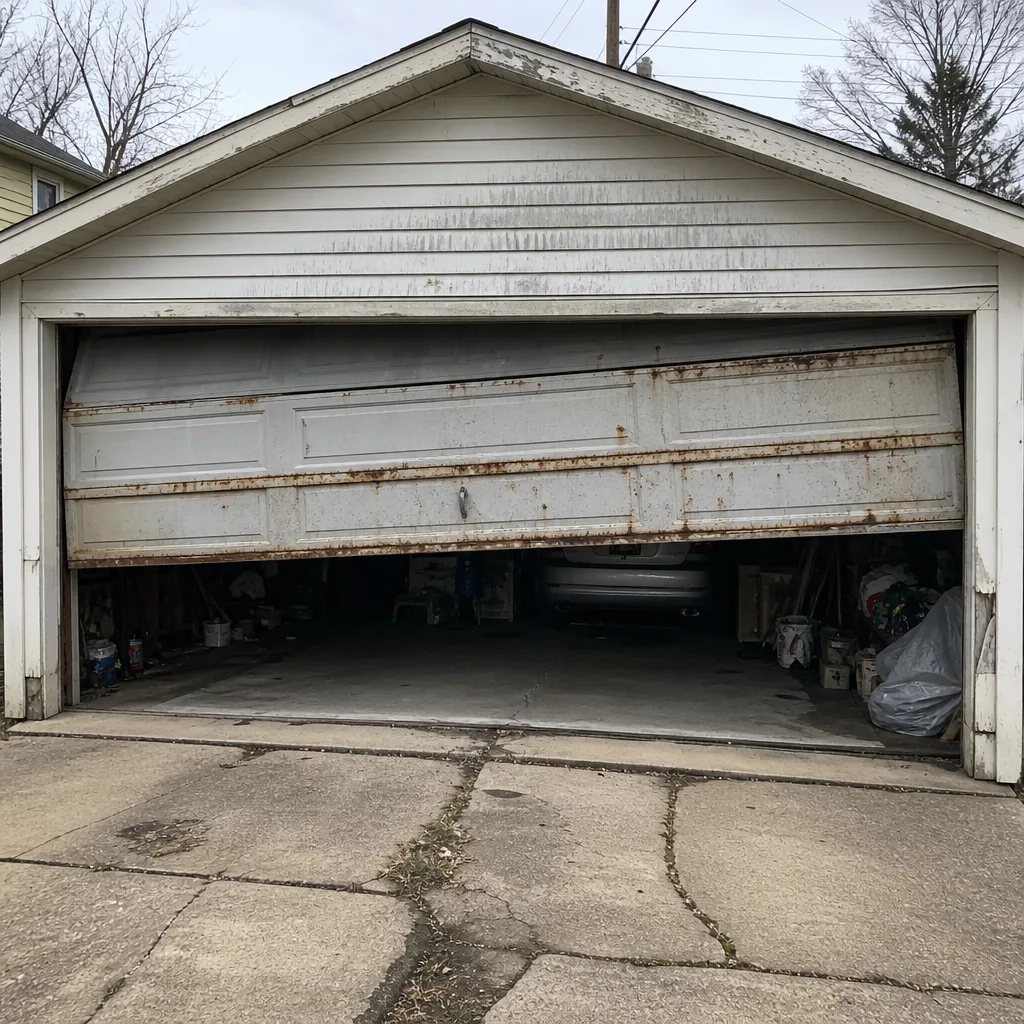 Before
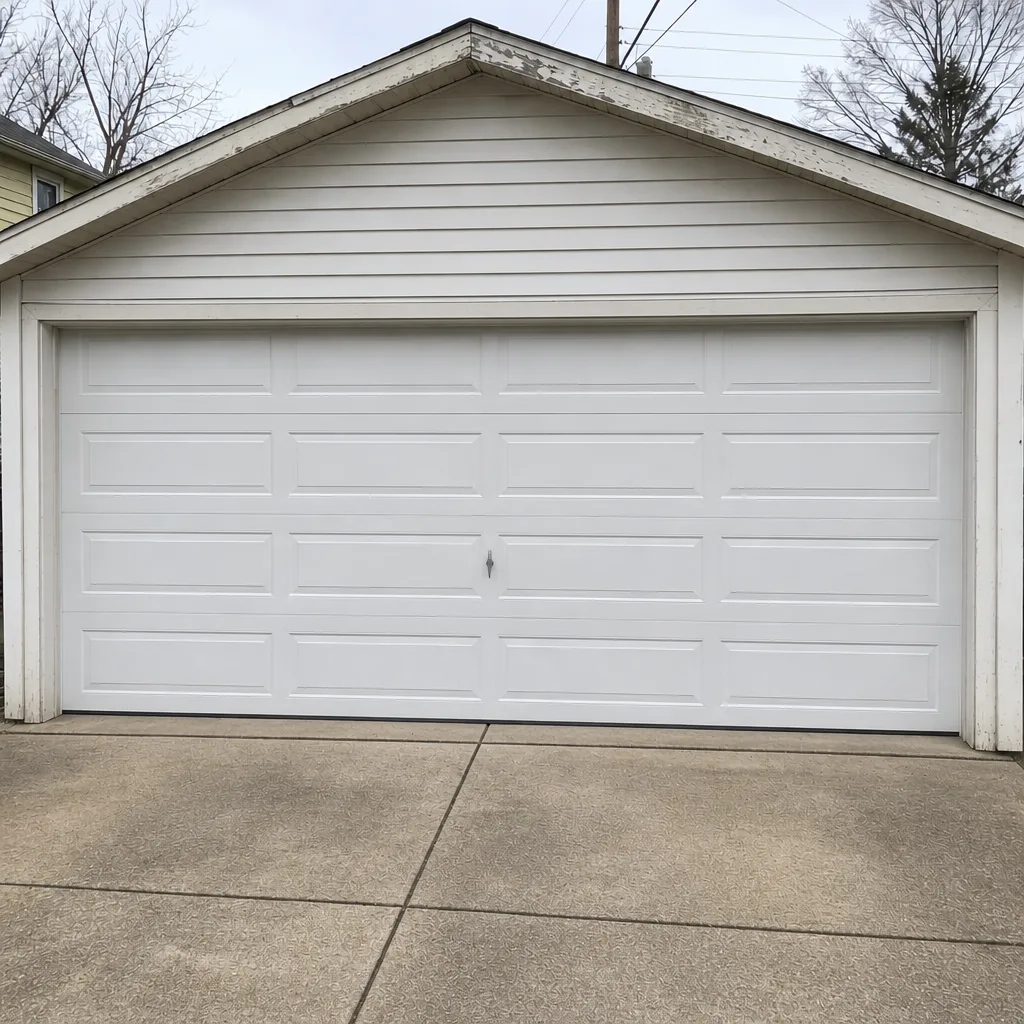 After
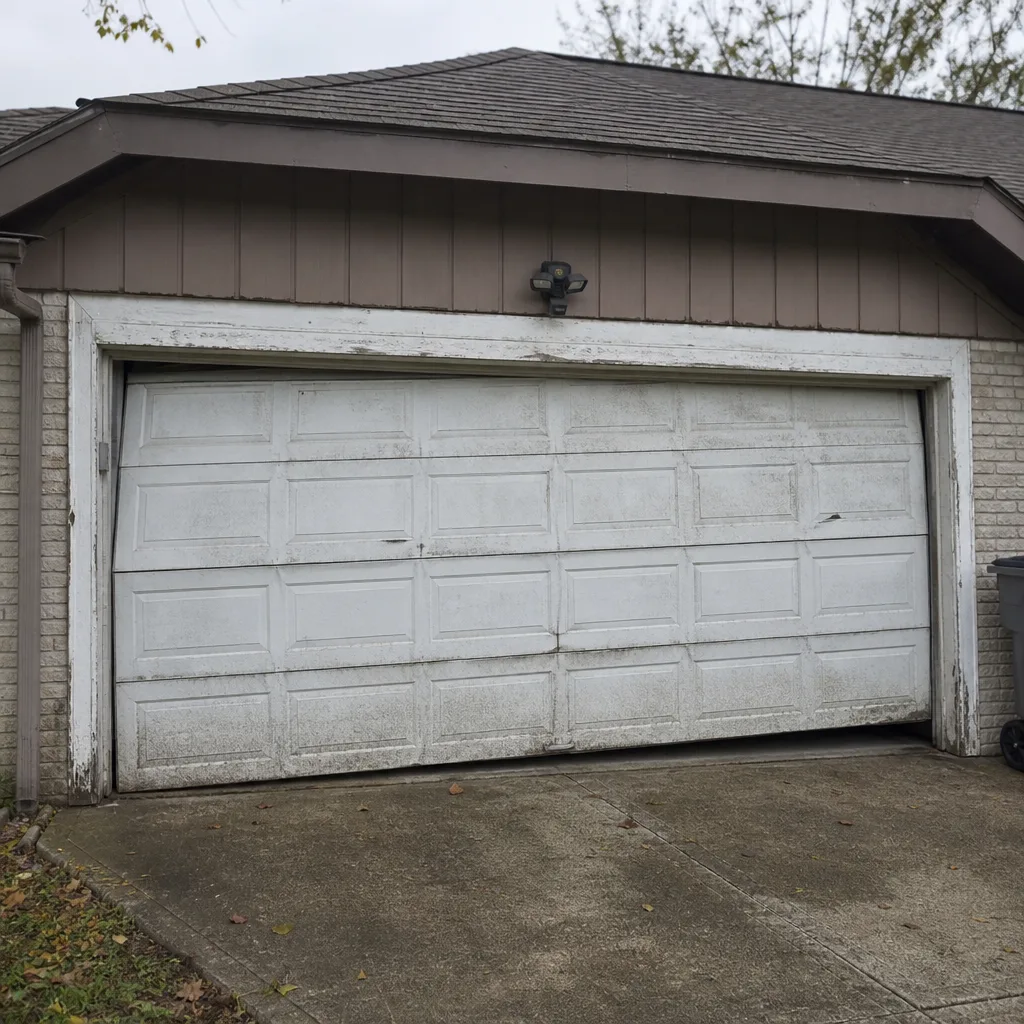 Before
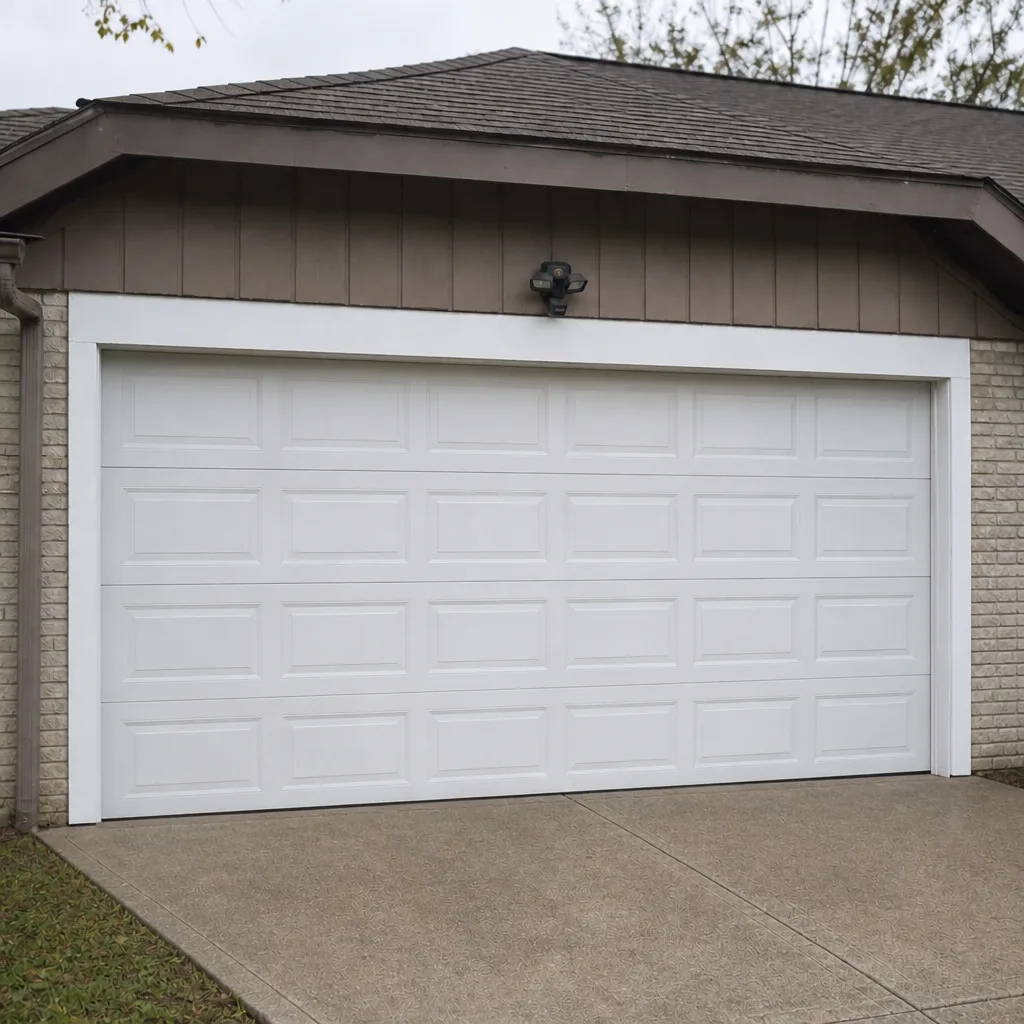 After
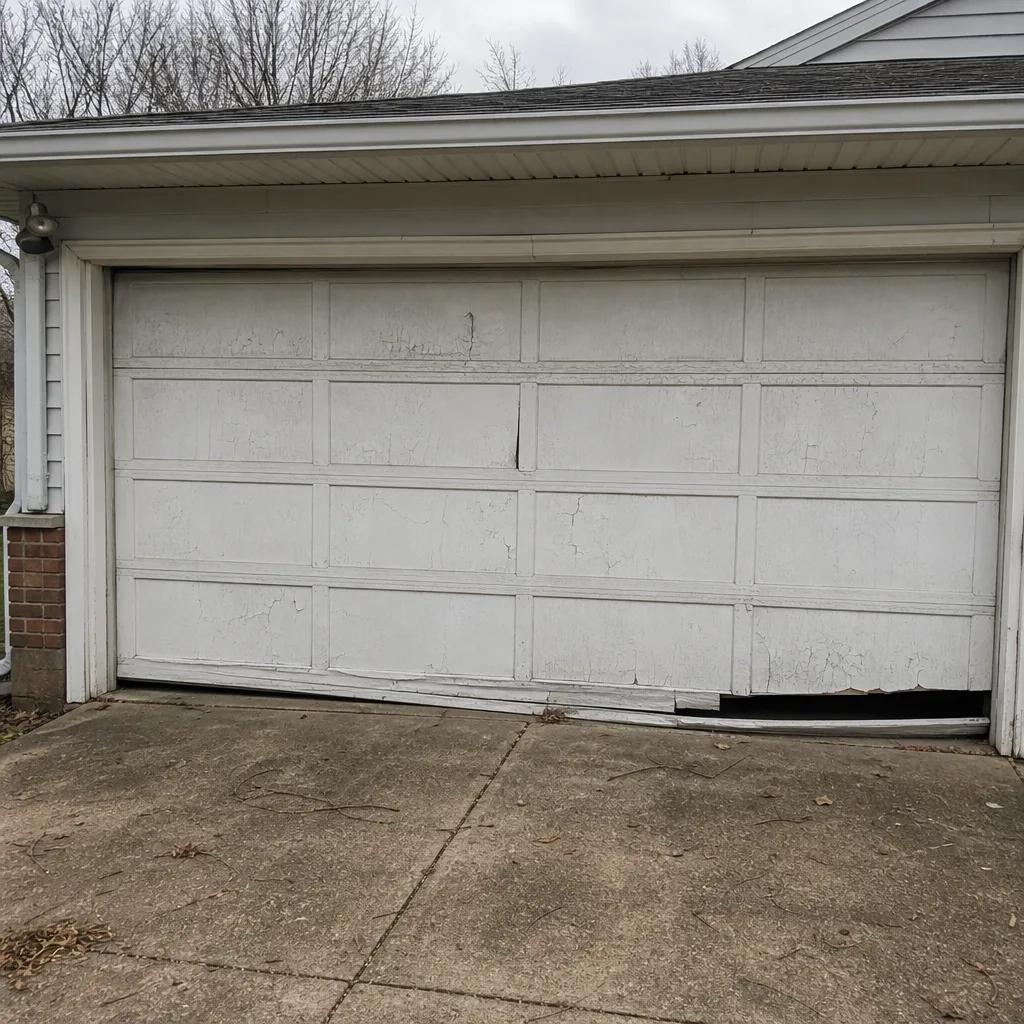 Before
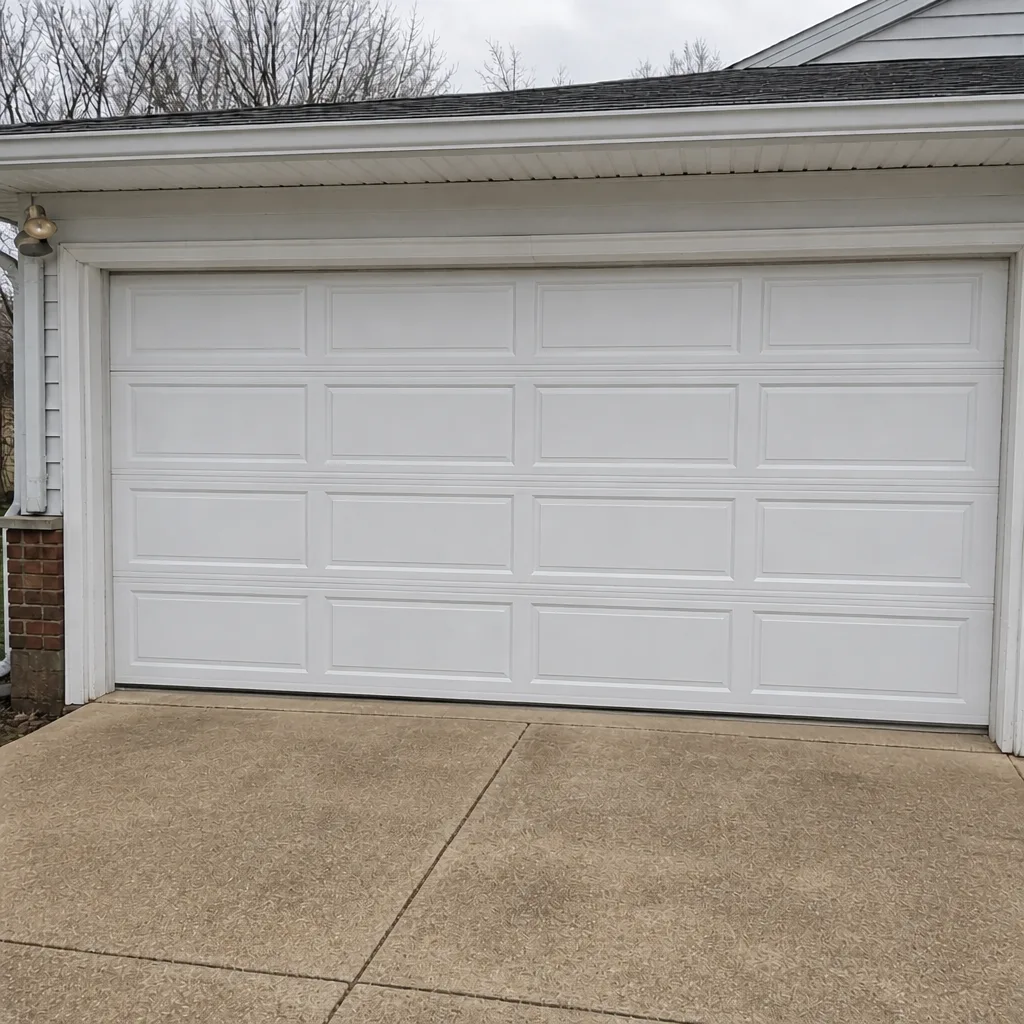 After
When to Call a Professional
Most of the checklist above is safe for a homeowner with a spray can and 15 minutes. A handful of situations cross into professional-only territory, and calling before you try to fix them yourself protects both you and the door. Spring work is the clearest example: a broken torsion or extension spring, a spring with a visible gap, or a door that feels heavy on the way up all signal a job for a trained technician. Cable damage needs the same treatment. So does any opener that reverses inconsistently, a track that’s been hit or that no longer runs parallel to the door, and any adjustment to the opener’s force limits. If the door is stuck open overnight, or stuck closed when you can’t get the car out, that’s what our emergency service is for. We can work with your insurer on any damage. Dayton Garage Door Repair Co offers free estimates in Dayton, and our technicians have up to 10 years of experience across all the major residential brands. Call (877) 704-1590 and we’ll take a look.
Frequently Asked Questions
Twice a year works for most Dayton doors: a full pass in late fall before the cold and another in early spring after the freeze-thaw cycle ends. Attached, heated garages can often stretch to once a year with a hinge touch-up in mid-winter. Use white lithium grease on hinges and rollers, and silicone spray on the bottom seal. Call (877) 704-1590 if you’re not sure what product belongs on your brand.
No, and this is one component we never suggest a homeowner take on. Torsion springs hold extreme tension, and releasing them without the correct winding bars and training can cause serious injury. Extension springs carry similar risk. If you see a broken spring, a visible gap in the coil, or a door that feels too heavy to lift, keep the door closed and call a technician. We handle both torsion and extension spring repair, and estimates are free.
Under normal household use of about four cycles a day, standard springs typically last around seven years before reaching their rated cycle count. Dayton’s cold winters and humid summers can shorten that. A spring that’s still working fine at ten years is worth inspecting carefully. Our technicians have up to 10 years of experience and can estimate remaining spring life on sight.
Look for daylight under a closed door, or feel for air leaks on a cold day. Cracks, a hardened seal that won’t flex, or visible gaps at the bottom corner all point to replacement. On Clopay and Amarr doors, damaged seals often trace to using the wrong lubricant, usually a solvent-based product that eats EPDM rubber. If you’re not sure, call us and we’ll check the seal and the rest of the weatherproofing during the same visit.
In most cases, yes. We work on LiftMaster, Chamberlain, Genie, Clopay, Amarr, Wayne Dalton, Craftsman, and Raynor systems. Those eight cover the vast majority of residential driveways in Dayton, so our technicians usually arrive already knowing the specific system in your garage. Call (877) 704-1590 and tell us the brand and model; we can confirm before booking.
No, we’re closed Saturday. We’re open Sunday through Friday, 7am to 7pm. If your door fails outside those hours, call and we’ll book you for the next available slot. Emergency service is available for stuck-open and stuck-closed situations, so the door can be secured quickly once we’re on the schedule.
Repair is almost always cheaper until the door reaches the end of its usable life. Once panels are structurally compromised, tracks are rusted through, or the door has needed three or more spring or cable repairs in the same year, replacement often makes more sense. Our team can walk you through garage door installation options if that’s the right call for your door. Estimates are free, so there’s no harm in asking.
The Bottom Line
A garage door maintenance checklist is only useful if it separates what you can do from what you shouldn’t touch. The safe work (lubrication, visual inspection, testing auto-reverse and balance) is what keeps small problems small. The dangerous work (springs, cables, force-limit adjustment) belongs to a specialist every time. Run two full passes a year in Dayton: one before the cold arrives, one after the thaw ends. Read the noises, use the right lubricants, and get a professional opinion the moment something crosses into Tier 3. Our technicians have up to 10 years of experience with all eight major brands, and our specialty is exclusively garage doors, which means every tool on the job is designed for the work in front of us. If you’d like a professional to give your Dayton door a full inspection and free estimate, Dayton Garage Door Repair Co is ready to help. Call (877) 704-1590, and we’ll get you on the schedule.
Written by the team at Dayton Garage Door Repair Co.